

In this blog, I'll provide an overview of how to set up a web server in Docker and use an Nginx proxy to route traffic to the web application. It covers the steps needed to create and configure the Docker container, install and configure Nginx, and create the necessary configuration files. The blog also provides advice on setting up an SSL certificate for secure communication and making sure the web server is optimized for performance.
But Why?
Why would you want to host a website behind a reverse proxy instead of just hosting it through a hosting provider? Why use Docker? And what is a reverse proxy, anyway?
One of the main benefits of using an nginx reverse proxy with a web server is increased security. By acting as a single point of contact for external clients, the reverse proxy can manage incoming traffic and requests. By filtering incoming traffic, a reverse proxy can also help prevent DDoS attacks, which can be used to overwhelm web servers with large amounts of traffic. They can also help with load balancing and provide scalability.
Using Docker to package your web server, you can simplify deployment and management of your application. Docker containers make it easy to deploy and scale your application, as well as make updates and changes to your configuration. This can save time and reduce the risk of errors when deploying changes to your website.
Getting Started
First, I need a Virtual Machine (e.g., AWS or Digital Ocean), a registered domain, and an Ubuntu 22.10 x64 image to replicate the steps in this blog. I'll walk you through the installation of Docker and the setup of the necessary containers.
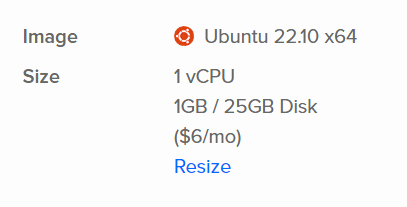
On Digital Ocean, I created a droplet with the below specifications. I also configured the VM to use an SSH key pair.
I registered two subdomains for use in this blog.
- redraven.cyberhacktics.com
- This site will be a WordPress site - test.cyberhacktics.com
- This will be a generic Apache site
Server Setup
I typically follow these steps from Digital Ocean when setting up a new server: Initial Server Setup. Allow SSH and HTTP/S through the firewall:
sudo ufw allow 80/tcp && \
sudo ufw allow 443/tcp && \
sudo ufw allow OpenSSH
Finally, I always perform an update and upgrade to finish up my initial server setup.
sudo apt update -y && sudo apt upgrade -yInstall Docker
I followed these steps to install Docker CE: Install Docker Engine on Ubuntu.
Run Websites in Docker
Pull WordPress Image
I pulled the official WordPress image from Docker Hub.
sudo docker pull wordpressRun WordPress Container
Next, I used the following command to run the WordPress container:
sudo docker run -d --name wp-redraven wordpressYou'll notice I'm not exposing the port with the -p option. That's because the NGINX reverse proxy will direct traffic to the container.
Pull Apache httpd Image
After WordPress was stood up, I pulled the Apache httpd image from Docker Hub.
sudo docker pull httpdThen I ran the Apache container.
sudo docker run -d --name test-site httpdOnce the WordPress and Apache containers were created, I checked their internal IP addresses. These are needed for the configuration files that I will discuss later.
sudo docker network inspect bridge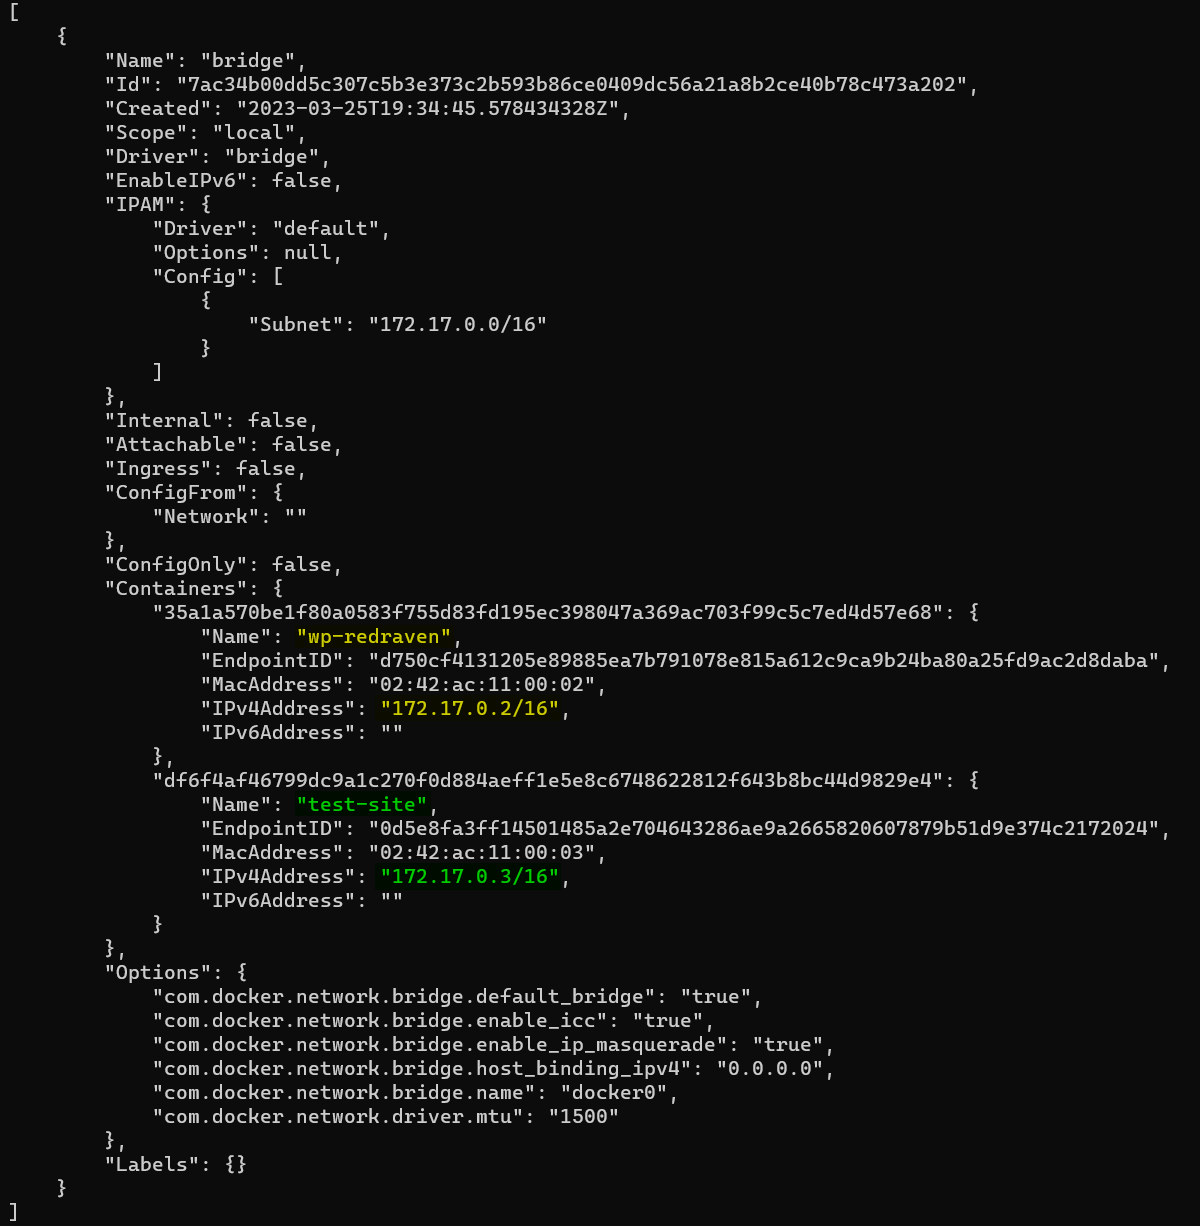
Run Nginx in Docker
Next, I pulled the NGINX image from Docker Hub:
sudo docker pull nginx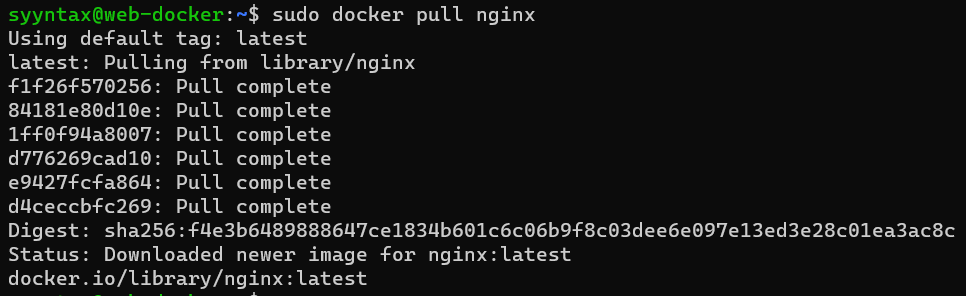
It's important to note that the NGINX Docker image does not come preconfigured as a reverse proxy. Therefore, in my home directory, I created an nginx folder and added four files: nginx.conf, proxy_params, test.cyberhacktics.com, and redraven.cyberhacktics.com. Here's a little about each file:
nginx.conf: the main configuration file for the NGINX web server. It contains a set of directives that control various aspects of the web server's operation, including server blocks, location blocks, upstream servers, SSL/TLS settings, and more.proxy_params: a configuration file that contains a set of default parameters that can be used when configuring an NGINX reverse proxy server.redraven.cyberhacktics.comandtest.cyberhacktics.com: the configuration files that tell NGINX where to route traffic to and what SSL configurations are included.
With all this in mind, I created the nginx folder.
mdkir ~/nginxNext, I created the four files mentioned above. Below is the content for each file.
nginx.conf
user  nginx;
worker_processes  auto;
include /etc/nginx/modules-enabled/*.conf;

error_log  /var/log/nginx/error.log notice;
pid        /var/run/nginx.pid;


events {
    worker_connections  1024;
}


http {
    include       /etc/nginx/mime.types;
    default_type  application/octet-stream;

    log_format  main  '$remote_addr - $remote_user [$time_local] "$request" '
                      '$status $body_bytes_sent "$http_referer" '
                      '"$http_user_agent" "$http_x_forwarded_for"';

    access_log  /var/log/nginx/access.log  main;
    error_log /var/log/nginx/error.log;

    sendfile        on;
    tcp_nopush     on;
    types_hash_max_size 2048;

    keepalive_timeout  65;

    gzip  on;


    include /etc/nginx/conf.d/*.conf;
    include /etc/nginx/sites-enabled/*;
}
proxy_params
proxy_set_header Host $http_host;
proxy_set_header X-Real-IP $remote_addr;
proxy_set_header X-Forwarded-For $proxy_add_x_forwarded_for;
proxy_set_header X-Forwarded-Proto $scheme;
redraven.cyberhacktics.com
server {
    listen 80;
    listen [::]:80;

    server_name redraven.cyberhacktics.com;

    location / {
        proxy_pass http://172.17.0.2;
        include proxy_params;
    }
}
test.cyberhacktics.com
server {
    listen 80;
    listen [::]:80;

    server_name test.cyberhacktics.com;

    location / {
        proxy_pass http://172.17.0.3;
        include proxy_params;
    }
}
You'll notice I used the internal IPs for the proxy_pass value for both WordPress and the Apache site. This tells NGINX where to route requests bound for redraven.cyberhacktics.com and test.cyberhacktics.com.
Run the NGINX Container
Now that I created my configuration files, I ran the NGINX container with the following command:
sudo docker run -d --name rev-proxy -p80:80 -p443:443 nginxAs I mentioned before, the NGINX image needs some modifications to make it a reverse proxy. I used the following command to create the sites-available and sites-enabled folders in the container:
sudo docker exec -it rev-proxy /bin/bash -c "mkdir /etc/nginx/sites-available /etc/nginx/sites-enabled"Copy Over the Config Files
Next, I moved the configuration files from my host to the NGINX container.
sudo docker cp ~/nginx/proxy_params rev-proxy:/etc/nginx/proxy_params

sudo docker cp ~/nginx/nginx.conf rev-proxy:/etc/nginx/nginx.conf

sudo docker cp ~/nginx/redraven.cyberhacktics.com rev-proxy:/etc/nginx/sites-available/redraven.cyberhacktics.com

sudo docker cp ~/nginx/test.cyberhacktics.com rev-proxy:/etc/nginx/sites-available/test.cyberhacktics.com
I then created a symbolic link for both redraven.cyberhacktics.com and test.cyberhacktics.com:
sudo docker exec rev-proxy ln -s /etc/nginx/sites-available/redraven.cyberhacktics.com /etc/nginx/sites-enabled

sudo docker exec rev-proxy ln -s /etc/nginx/sites-available/test.cyberhacktics.com /etc/nginx/sites-enabled
Finally, I restarted the rev-proxy container.
sudo docker restart rev-proxyCheck Websites to Confirm Success
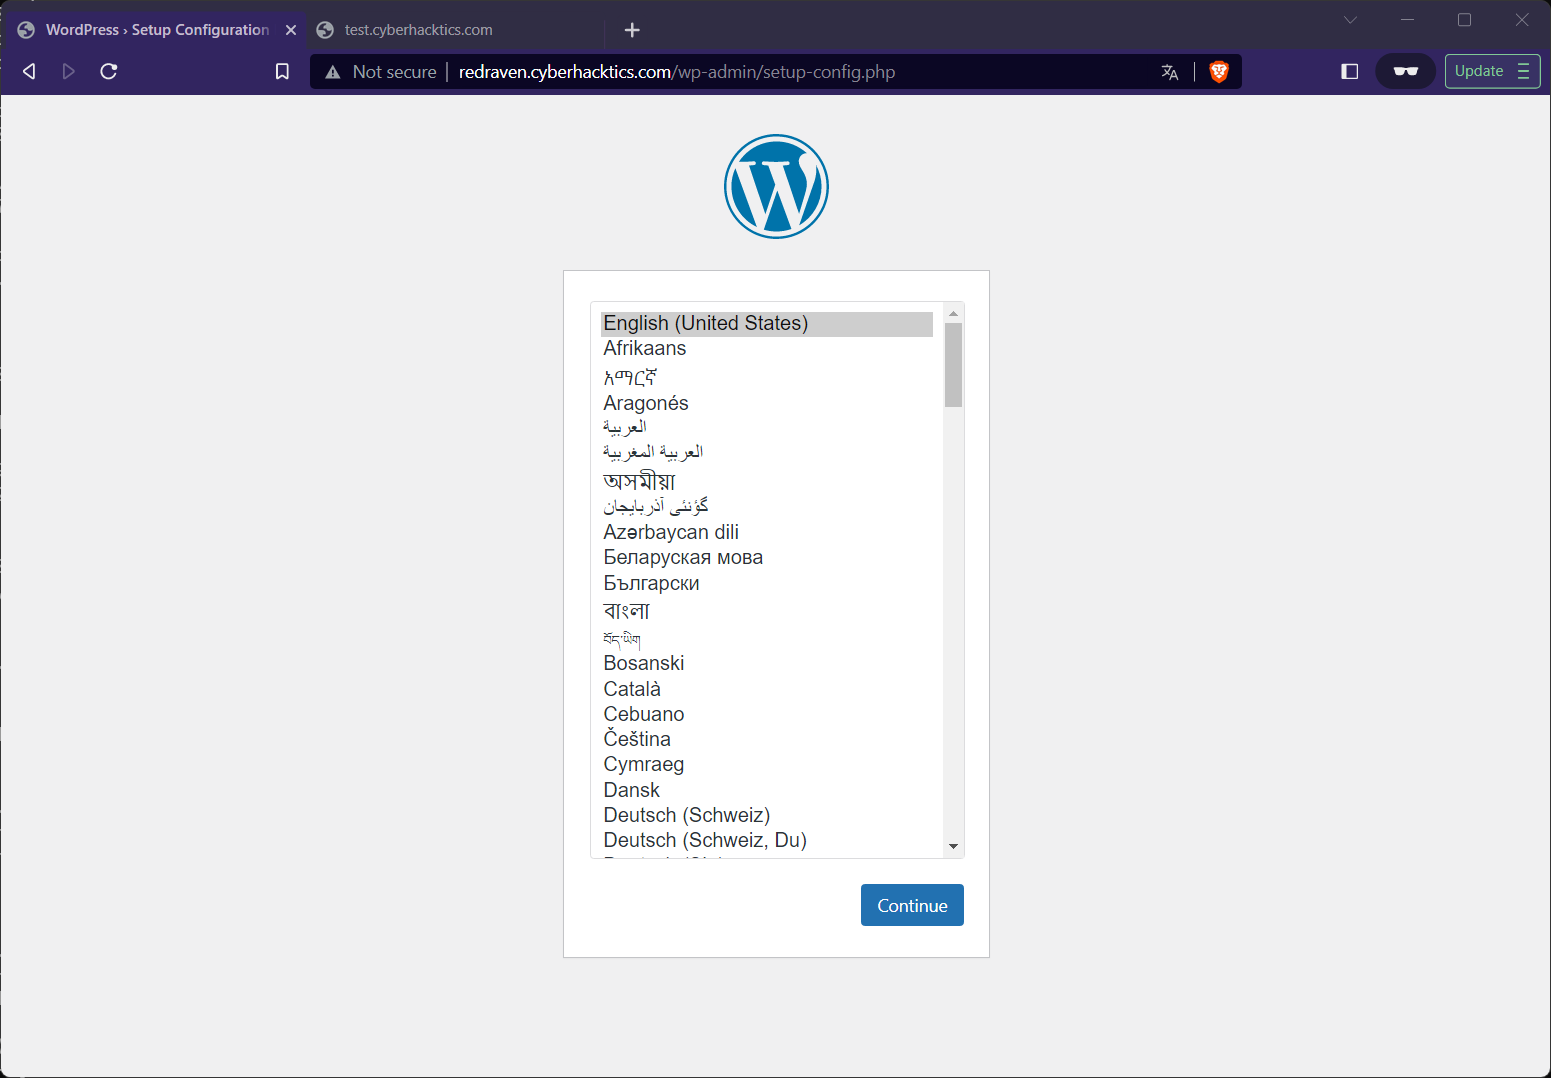
The last thing to do now was to check that the proxy was working properly. I navigated to each site and saw that both pages were being routed properly.
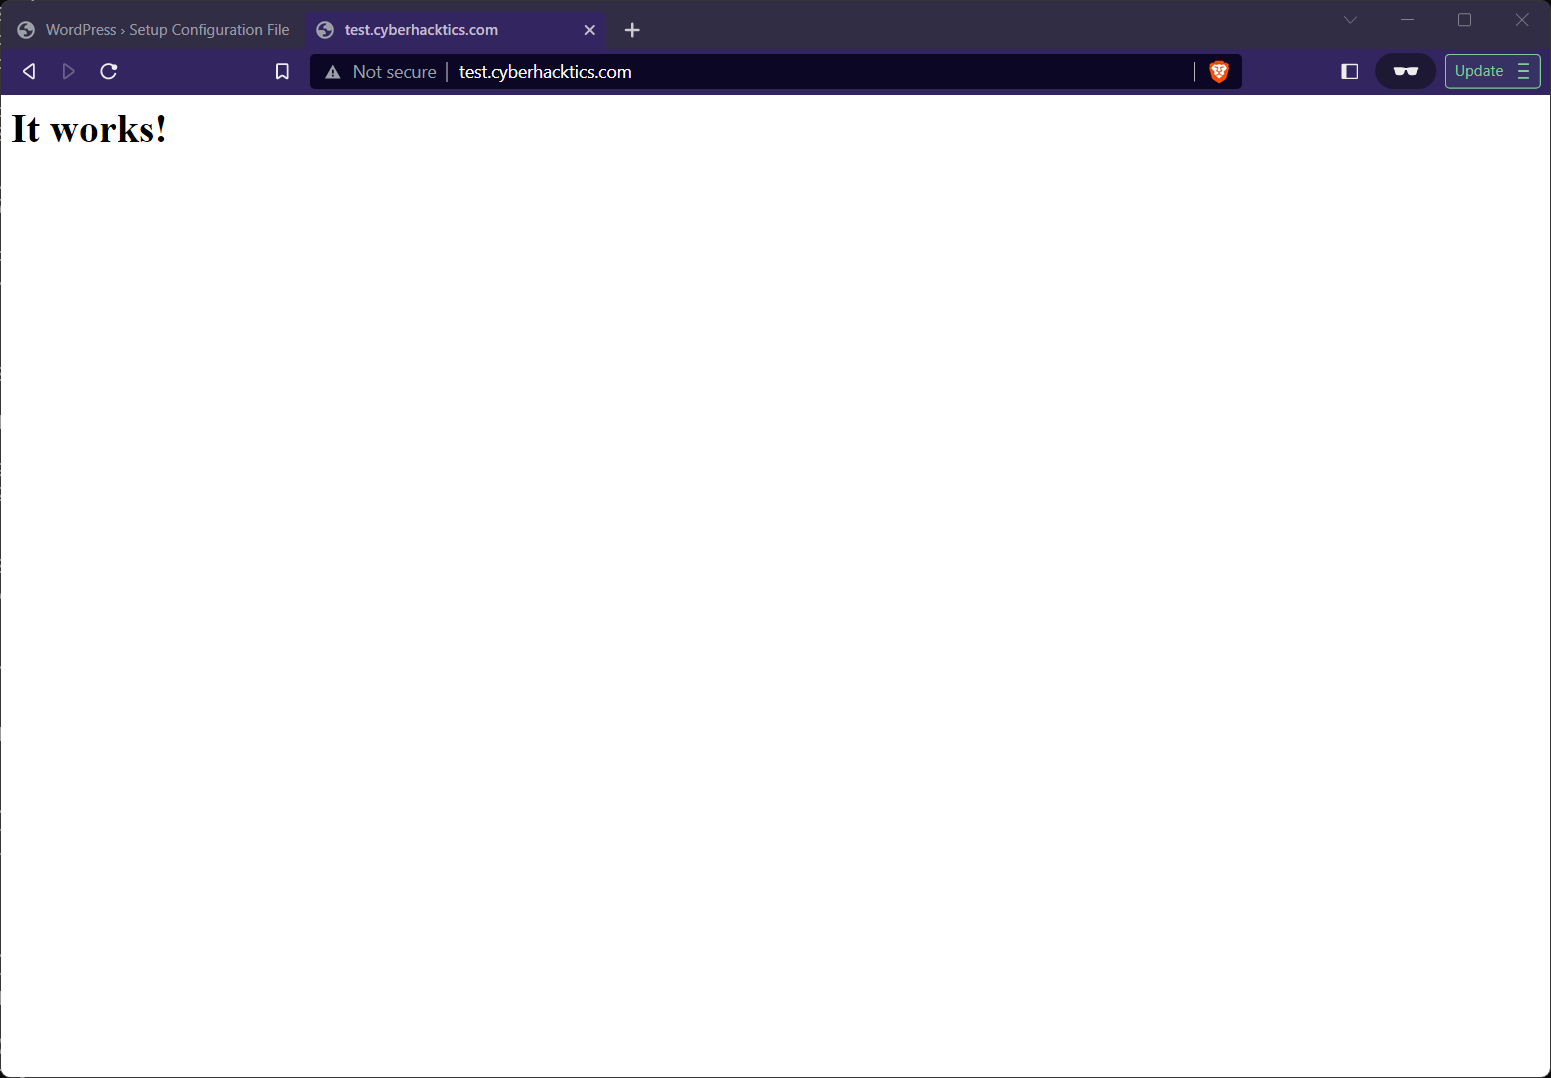
Configure SSL
You'll notice in my screenshots that neither site uses HTTPS. SSL needs to be configured on the NGINX reverse proxy for both sites. Before doing this, I updated and installed certbot on the NGINX container.
sudo docker exec rev-proxy /bin/bash -c "apt update -y && apt upgrade -y"sudo docker exec rev-proxy /bin/bash -c "apt install -y python3-certbot-nginx"Next, I ran certbot for both sites.
sudo docker exec rev-proxy certbot --nginx -d redraven.cyberhacktics.com -n --agree-tos --email info@cyberhacktics.com

sudo docker exec rev-proxy certbot --nginx -d test.cyberhacktics.com -n --agree-tos --email info@cyberhacktics.com
Conclusion
Overall, setting up a web server in Docker and using an Nginx proxy to route traffic to a web application can be a complex process, but by following the steps outlined in this blog it can be done quickly and easily. Not only will you be able to get your web server up and running quickly, but you'll also be able to secure the communication with an SSL certificate and make sure it's optimized for performance.